0431-296-2946
TMS (Transportation Management System)
1. Dispatch Load
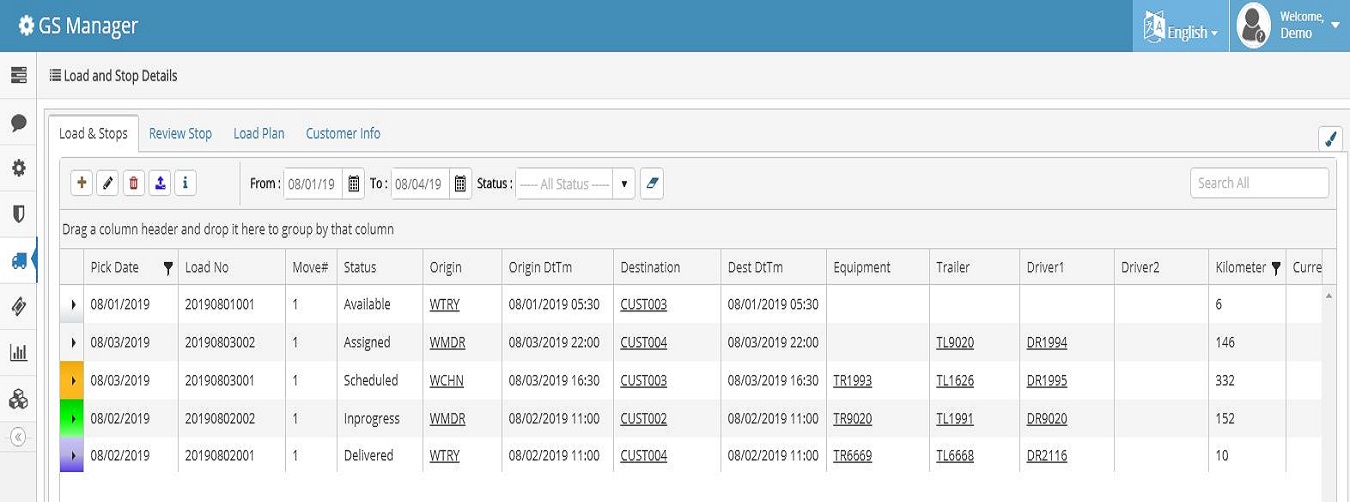
Dispatch module supports wide range of logistic services with efficient load planning. Dispatch helps you keep your dispatchers, equipment, driver and loads all on the same page.
It helps manage and track those deliveries of the loads and route stops.
Dispatch load statuses are colour coded, so making it easy for you to identify the exact status of load.
4. Mobile App
If your driver has the Mobile Application with his ID, then believe us, you need no verbal communication with him even to say where to go.
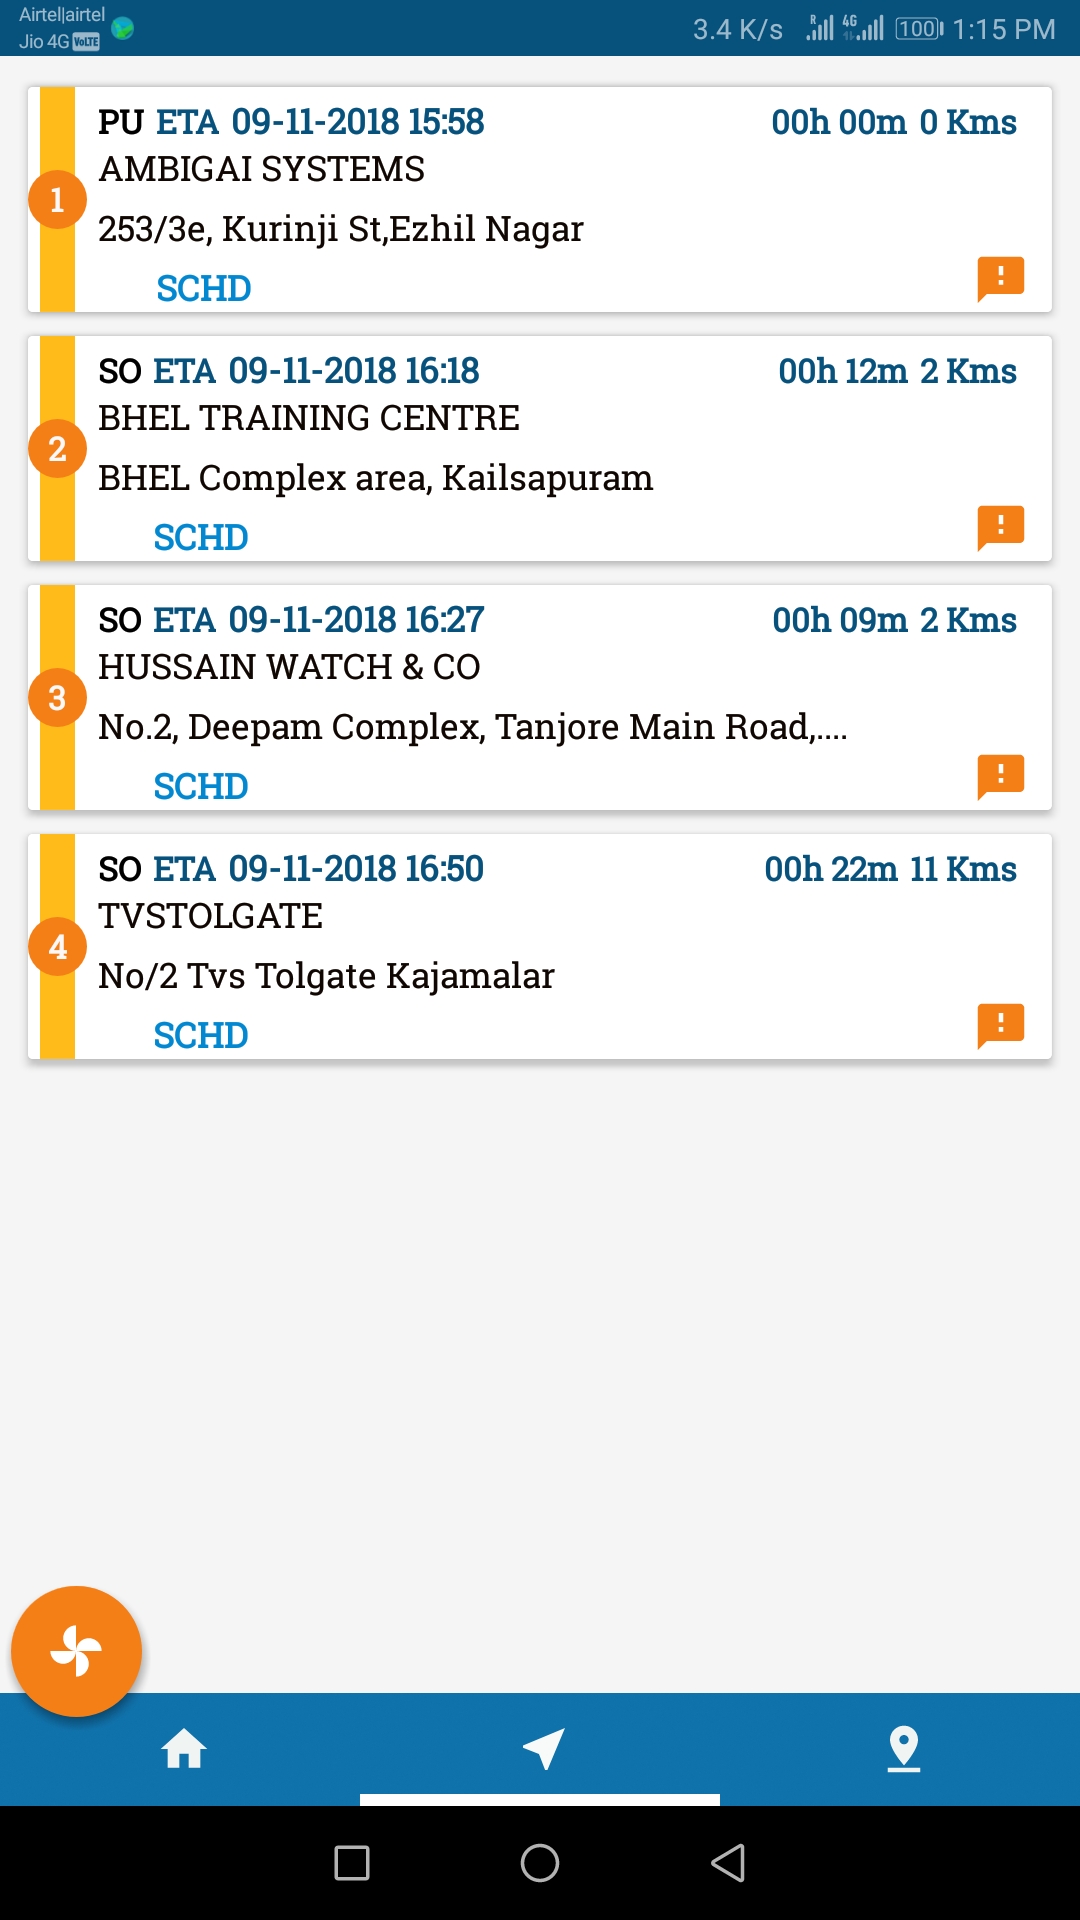
The information of the load populates from where he will come to know all the details such as Origin, Destination, how many pick up points ,how many total stops and also details such as how many kilometres he has travelled, has to travel etc.
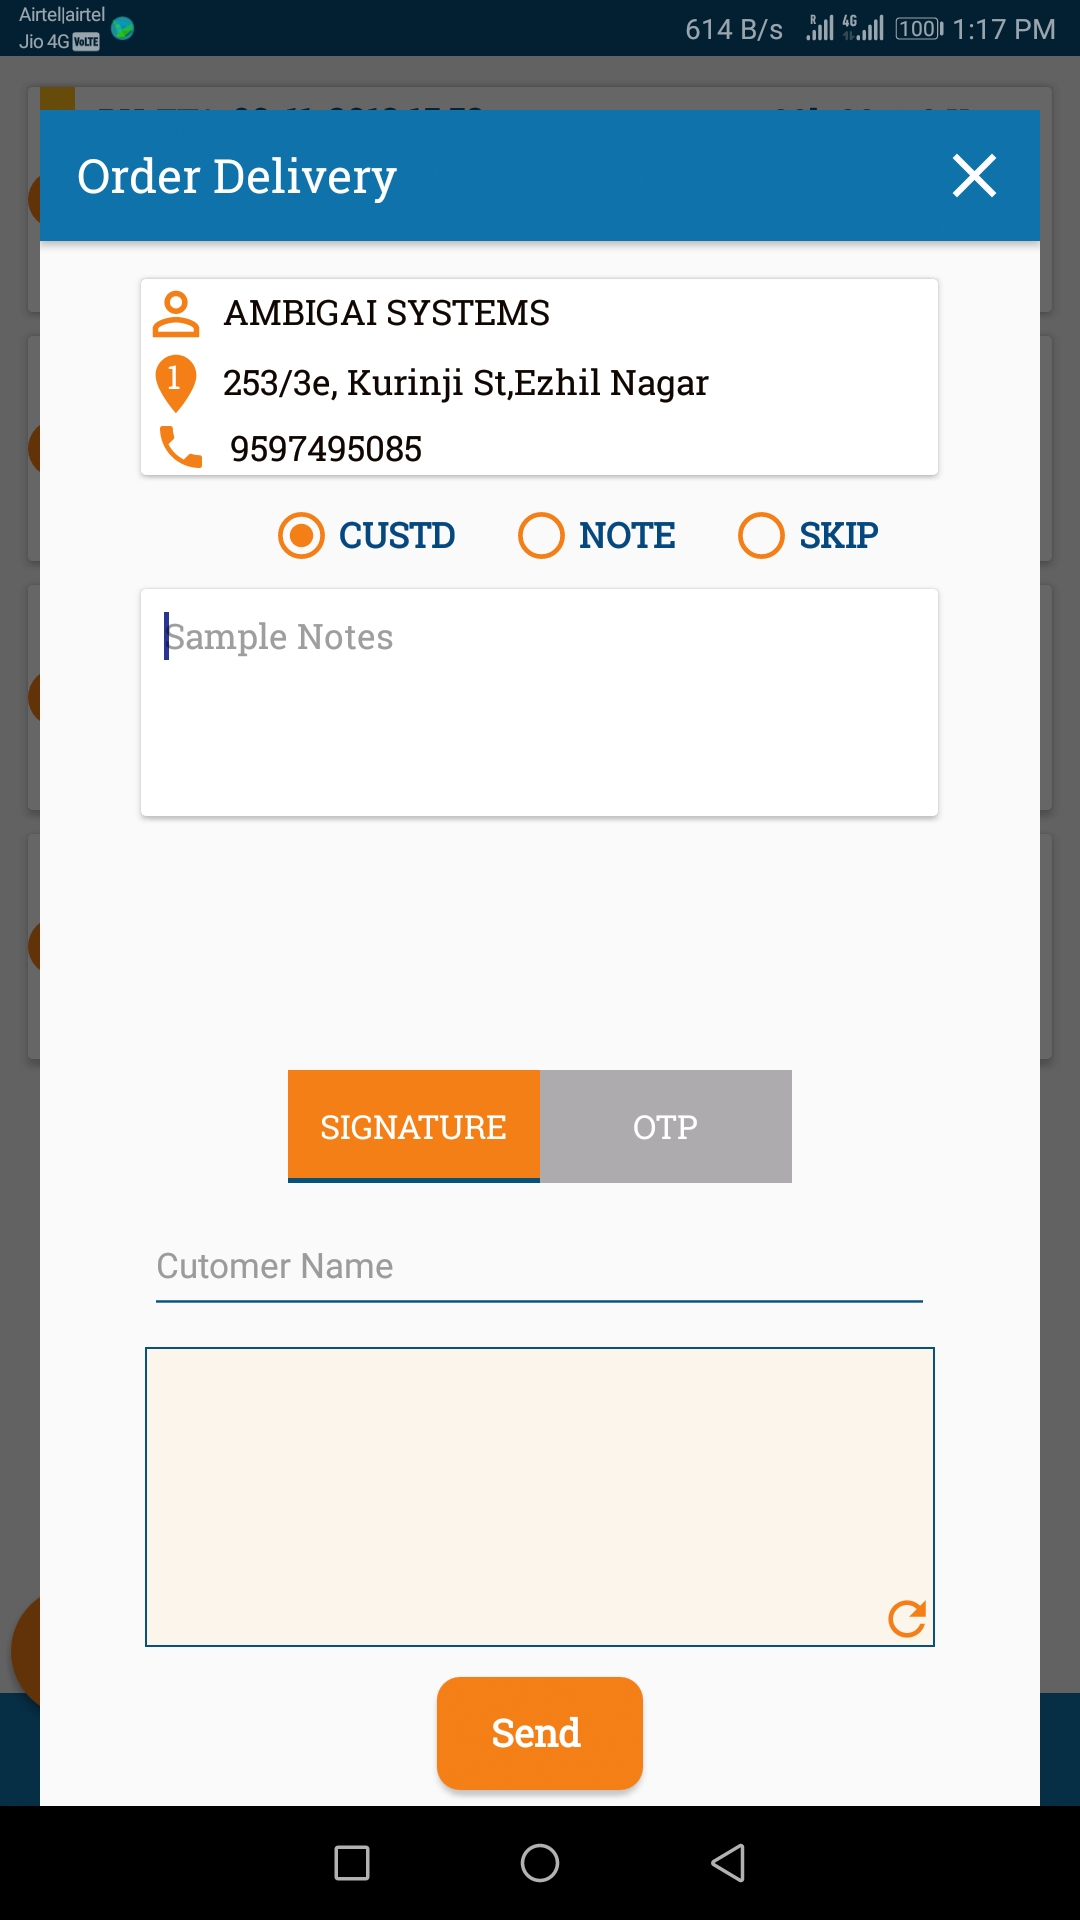
The driver has the facility to intimate the Head office that the goods got delivered in a particular stop with a signature obtained from the customer.
5. Route Optimization
He also has options to skip a stop, send notes to the Head office regarding a stop or send messages in general.
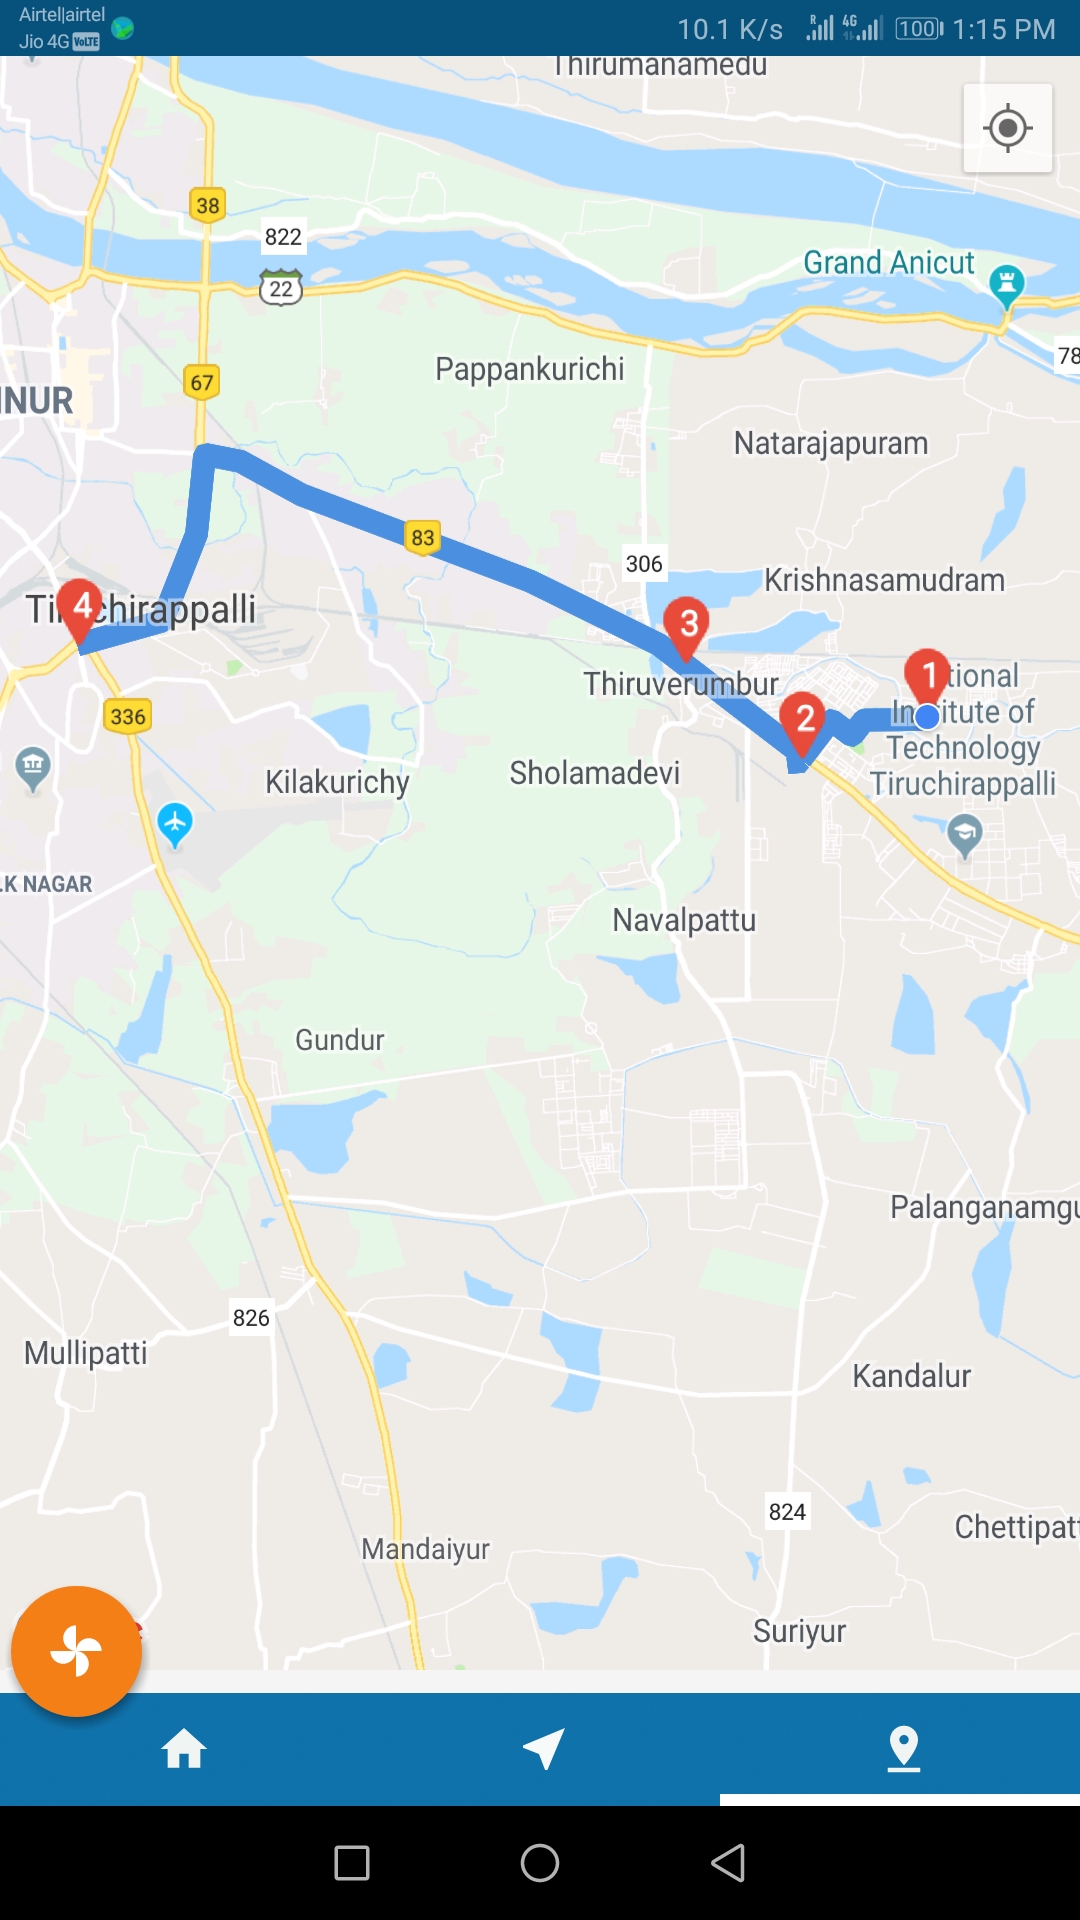
He also has a map view where he can have a clear picture of where he is travelling and the route for the upcoming stops.
You can see that with our TMS product your life will become so easy regards to your administration of your logistics.
Label Designer
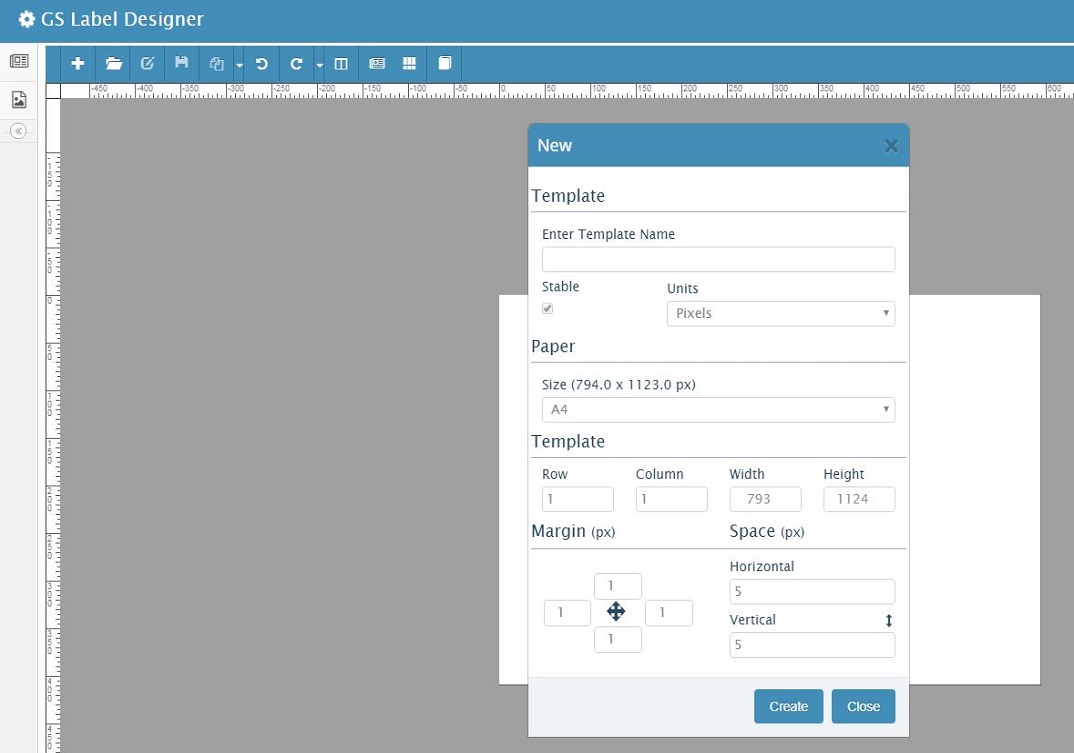
2. Design your template
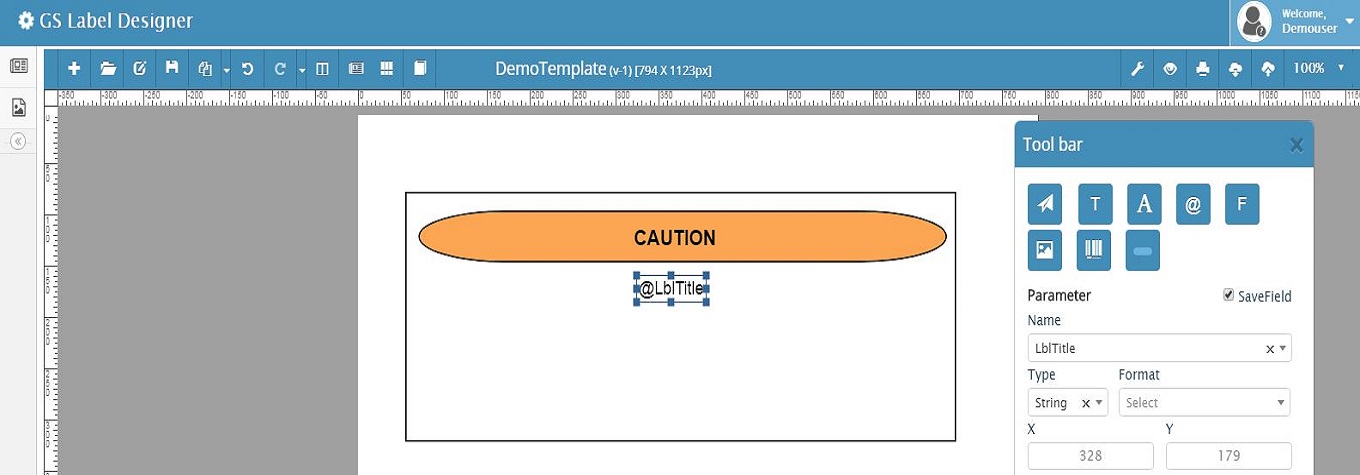
This is the creative part where you can choose from our tools like shapes, text, text area, parameter tool, formula, image, barcode tool and drag and drop them to create your template. The parameter tool helps with providing the dynamic feature to our product. This template is saved to create the label.
4. Multiple label creation
This special feature allows us to create several unique labels. For this download the template in excel format and enter any number of values for the fields. Finally when you upload the Excel to our designer we generate each row into labels for you. Thus you can create multiple unique labels.
Report Viewer
1. Report Group
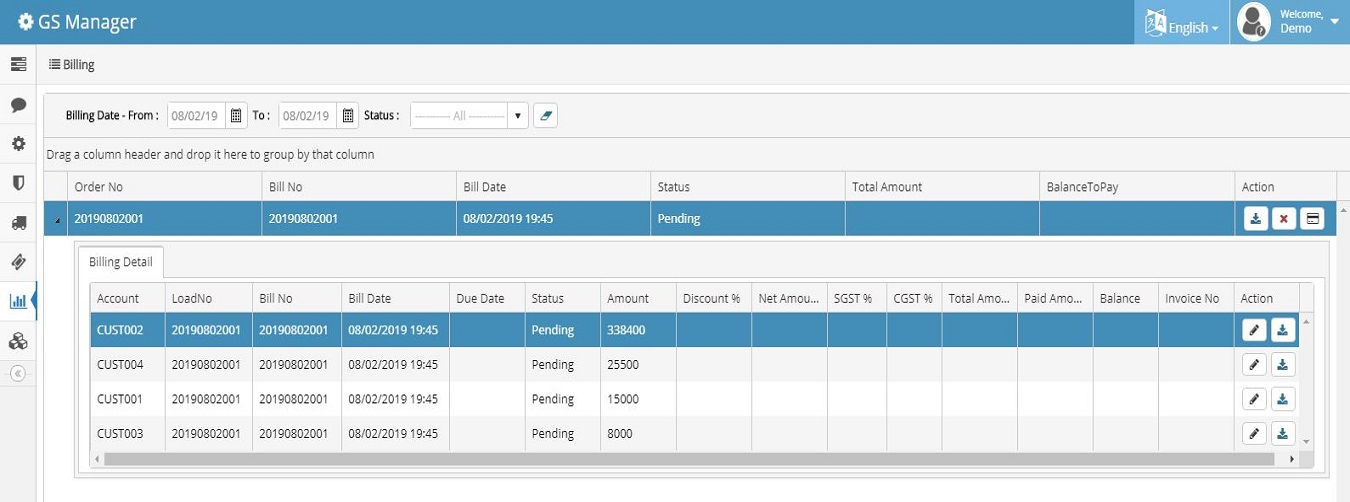
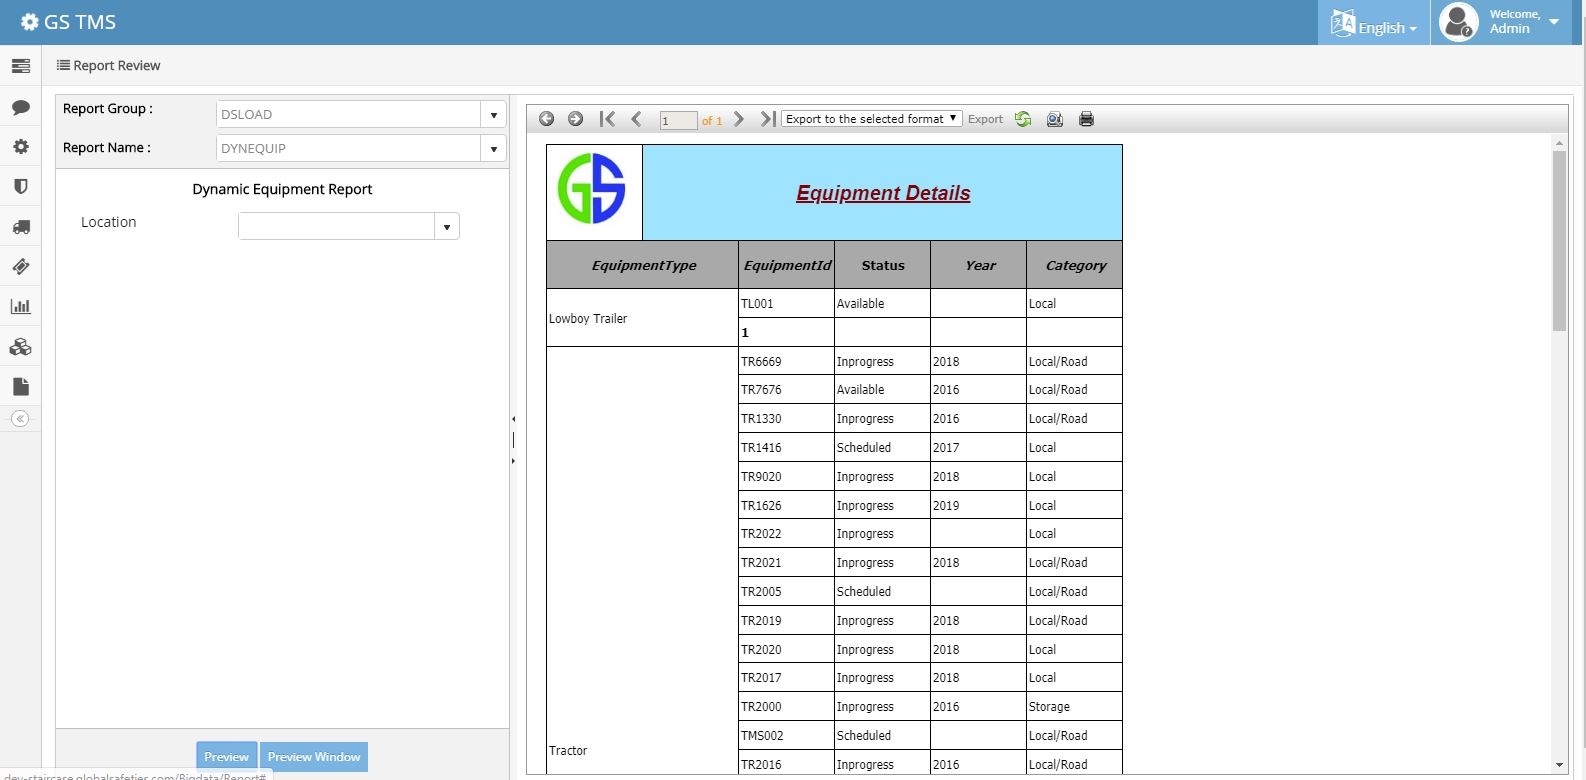
Reporting Module is designed to generate reports like Invoice, Bill Generation and etc., TMS Reports is designed to view all the data with our customized reporting tools. Reporting tool is with fully customizable chart's, table's as grid view and dashboard's, you can drill down and get as specific insights as you desire or analyze delivery trends over multiple carriers.
3. Report Design
The ParentLookup from the Report table is Report Design screen.Fill all the details associated for Report Design. This screen is associated with the division of the report fields. That is, the Report consists of three fields, Header, Footer and Detail Section. Enter the Name of the header, then choose the Report Section whether it is Header or Footer or Detail Section. The Dropdown can be created from the Category Type table.
4. Report Fields
The ParentLookup from the ReportDesign Table is ReportFields screen.This table is to design the report with a colorful header, footer and detail section.The Header features like Field Details, Field Properties, Border Properties, Image Properties and Chart Properties are added.
The Detail Section includes the data of the report as Chart or Grid or Barcode. You can change the background and font colors also. And if you want to add any image like logo of the company, image features are also available. While choosing the image field, the corresponding image fields are visible and you have to choose the image from the directory. The Function field will be enabled in DetailSection only.

